How to Root and Install TWRP Recovery on Samsung Galaxy S9 [Exynos only]

How to install TWRP Recovery and Root Samsung Galaxy S9:
Samsung Galaxy S9 and S9 Plus is the latest Samsung flagship smartphone. Thus, Samsung has already started shipping the pre-orders and real life reviews of the both devices around the globe - be it on social media or any other platforms. If you Just got your hands on a brand new spanking Samsung Galaxy S9, and want to root it and install TWRP recovery. Worry not because we got you covered. However, in this tutorial, I'll be sharing with you how to root and install TWRP recovery on Samsung Galaxy S9 - that is, if you're amongst those who are power users like us.Please Note: This walkthrough works with Exynos variants of Samsung Galaxy S9 only.
» Disclaimer:
AndroBliz should not be held responsible for any damages or loss you get following this procedure, hence we're here to offer help and guide to you "user at your own risk". Keep in mind by doing this, you have void the warranty of your Samsung Galaxy S9.
Below are the models numbers on which this process is applicable, to find the model number of your device head-over to Settings => About device.
» Samsung Galaxy S9 Model Numbers:
- SM-G960F
- SM-G960FD
- SM-G960N
- Make sure you have one of the model numbers listed above.
- Make sure your device is fully charged.
- Make sure to backup your data, this will erase all your data.
- Download and install Samsung USB Drivers.
- Download and Extract Odin (Samsung’s Flash Tool).
- TWRP for your Samsung Galaxy S9
- Download dm-verity and force encryption disabler zip file.
- Download RMM State Fix Zip file.
» How To Install TWRP Recovery On Samsung Galaxy S9:
★ Enable USB Debugging and OEM Unlock:
Go to Settings => About Device. Tap the Build number seven times until you see a message that says “You are now a developer”. An option called “Developer Options” will now be unlocked. Go to Settings => Developer Options and enable OEM Unlock and USB debugging.
If you do not see OEM Unlock option, it’s because Samsung has locked you out. Keep your device running for 7 days i.e. connected to a network and the option will appear automatically. Galaxy S8 TWRP Build Number Galaxy S8 TWRP Developer Options Galaxy S8 TWRP OEM Unlock
★ Open Odin:
Navigate to the Odin folder on your PC and open Odin by double clicking the Odin3.exe.
★ Boot Device Into Download Mode, Power off your Galaxy S9:
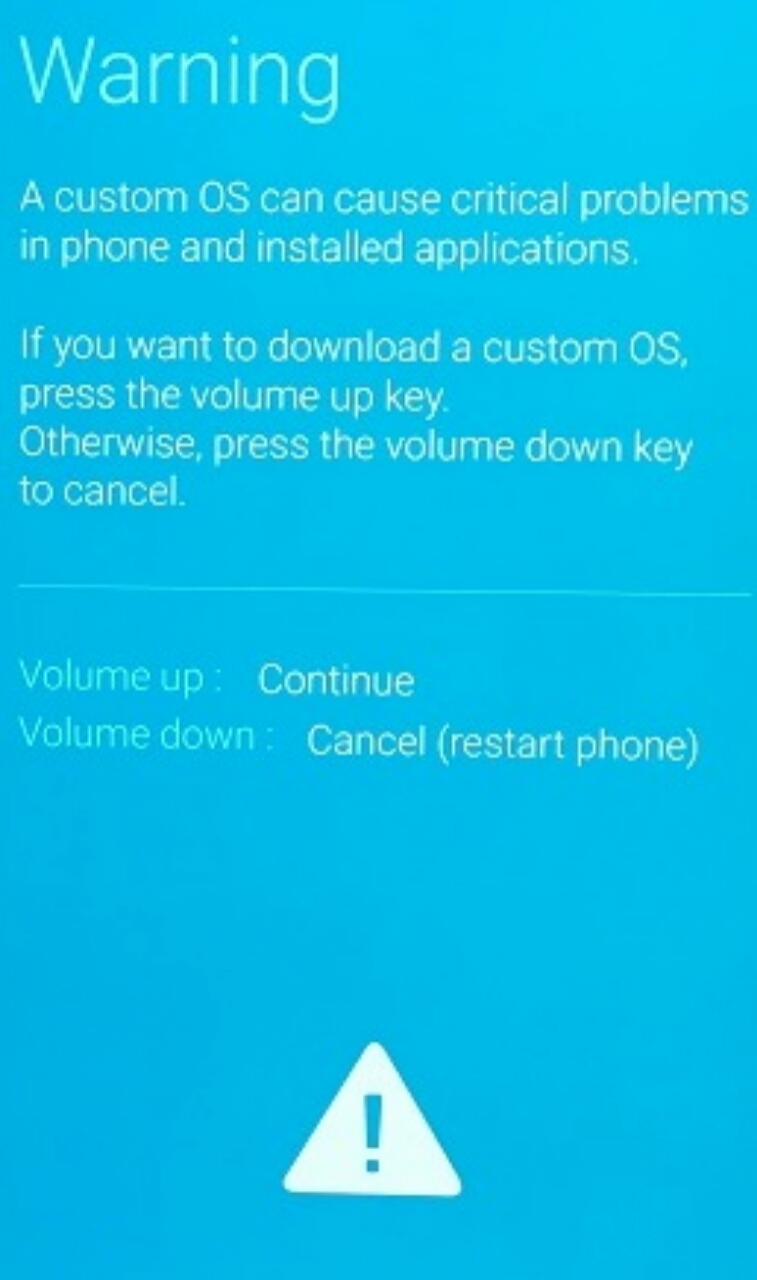
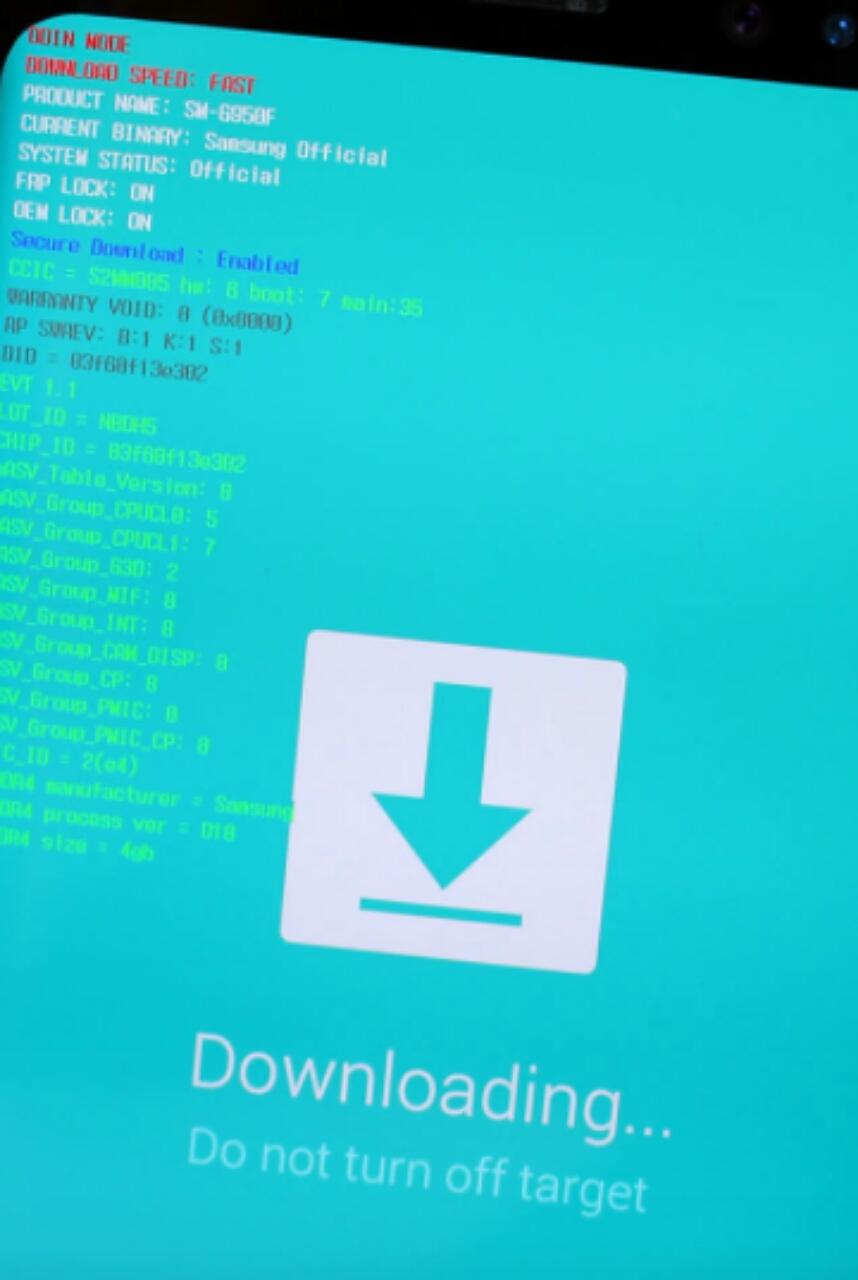
Press and Hold volume down +Bixby button + power button. You will get a Warning. Press the Volume up button to continue and you will be in download mode. At this point connect your device to the PC using the USB cable provided by Samsung.
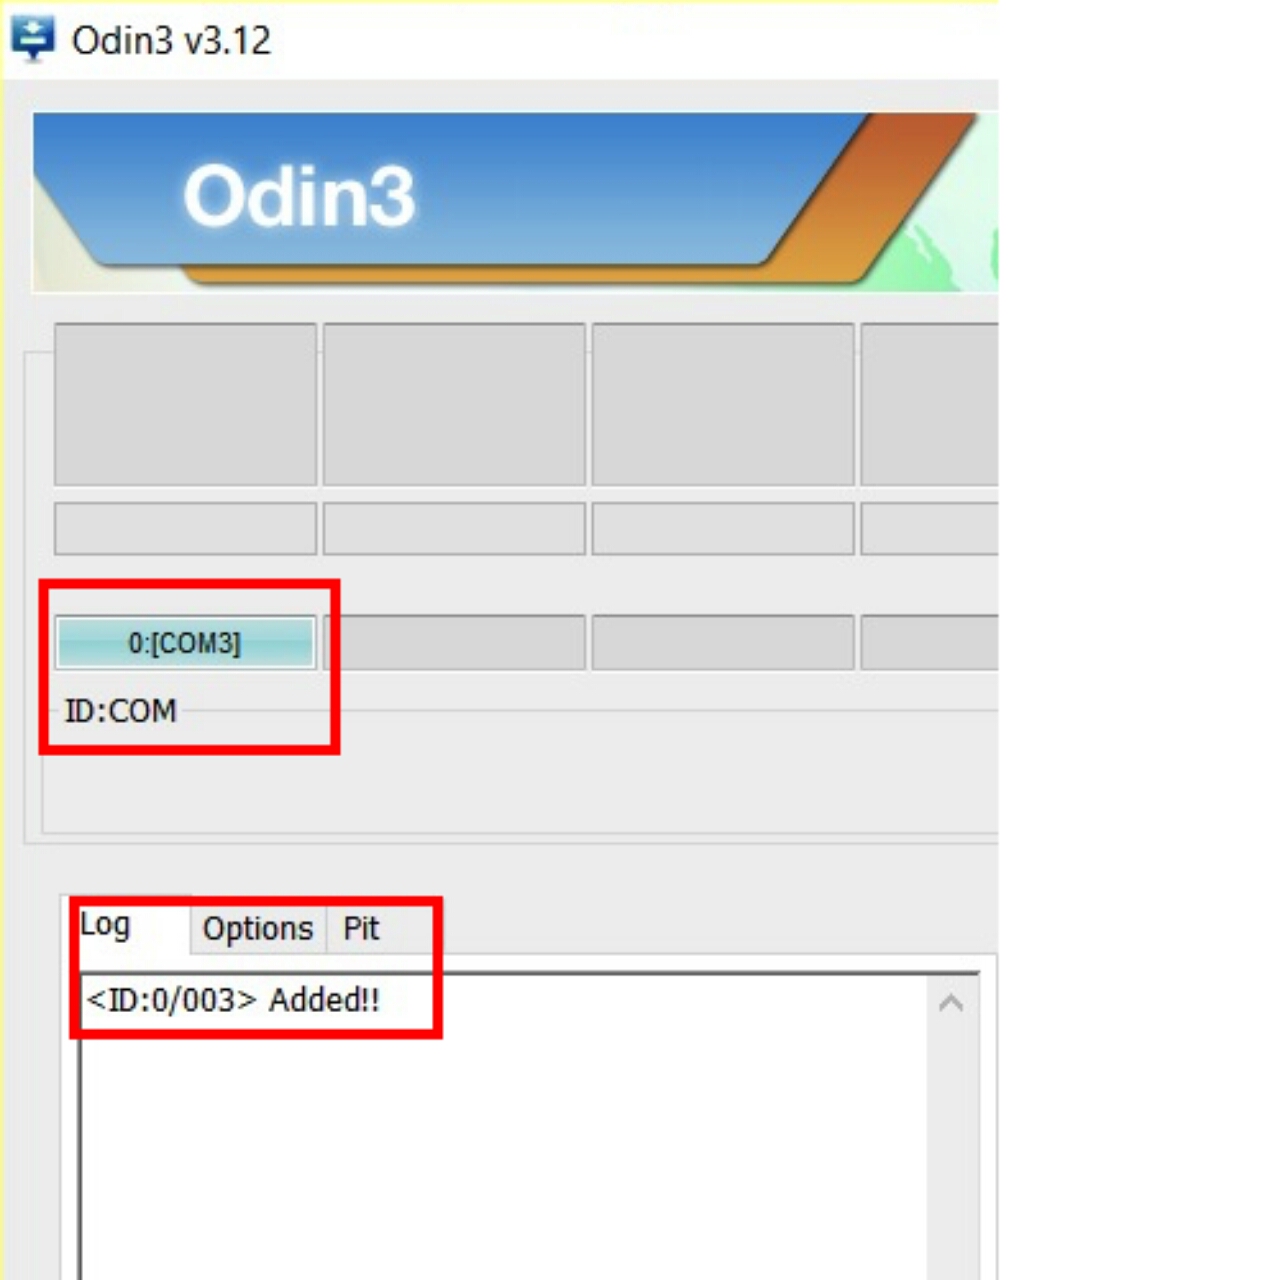
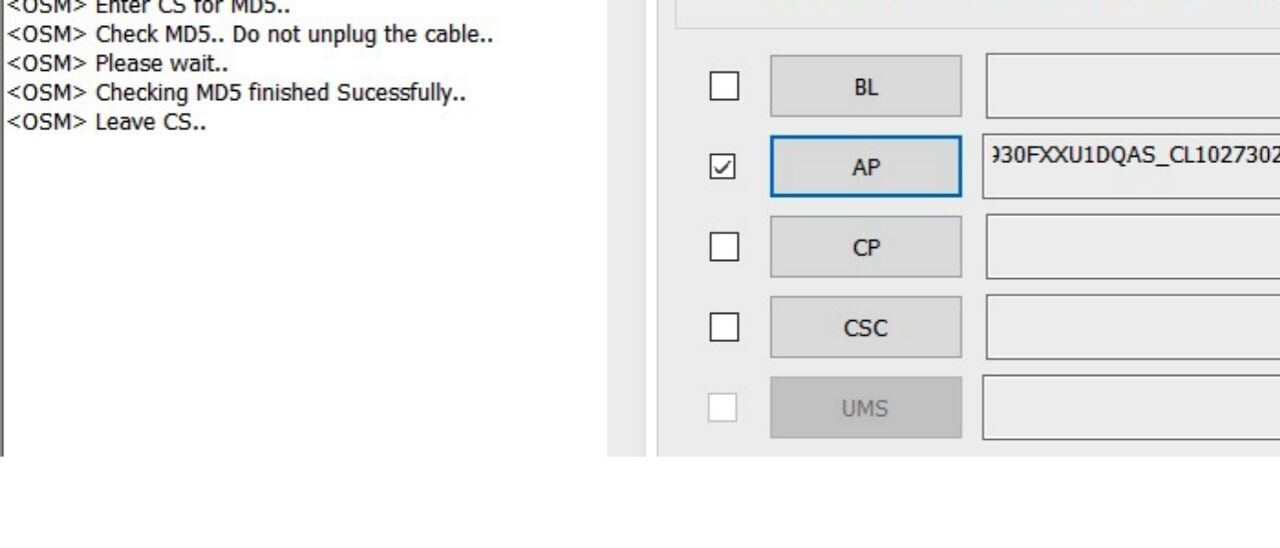
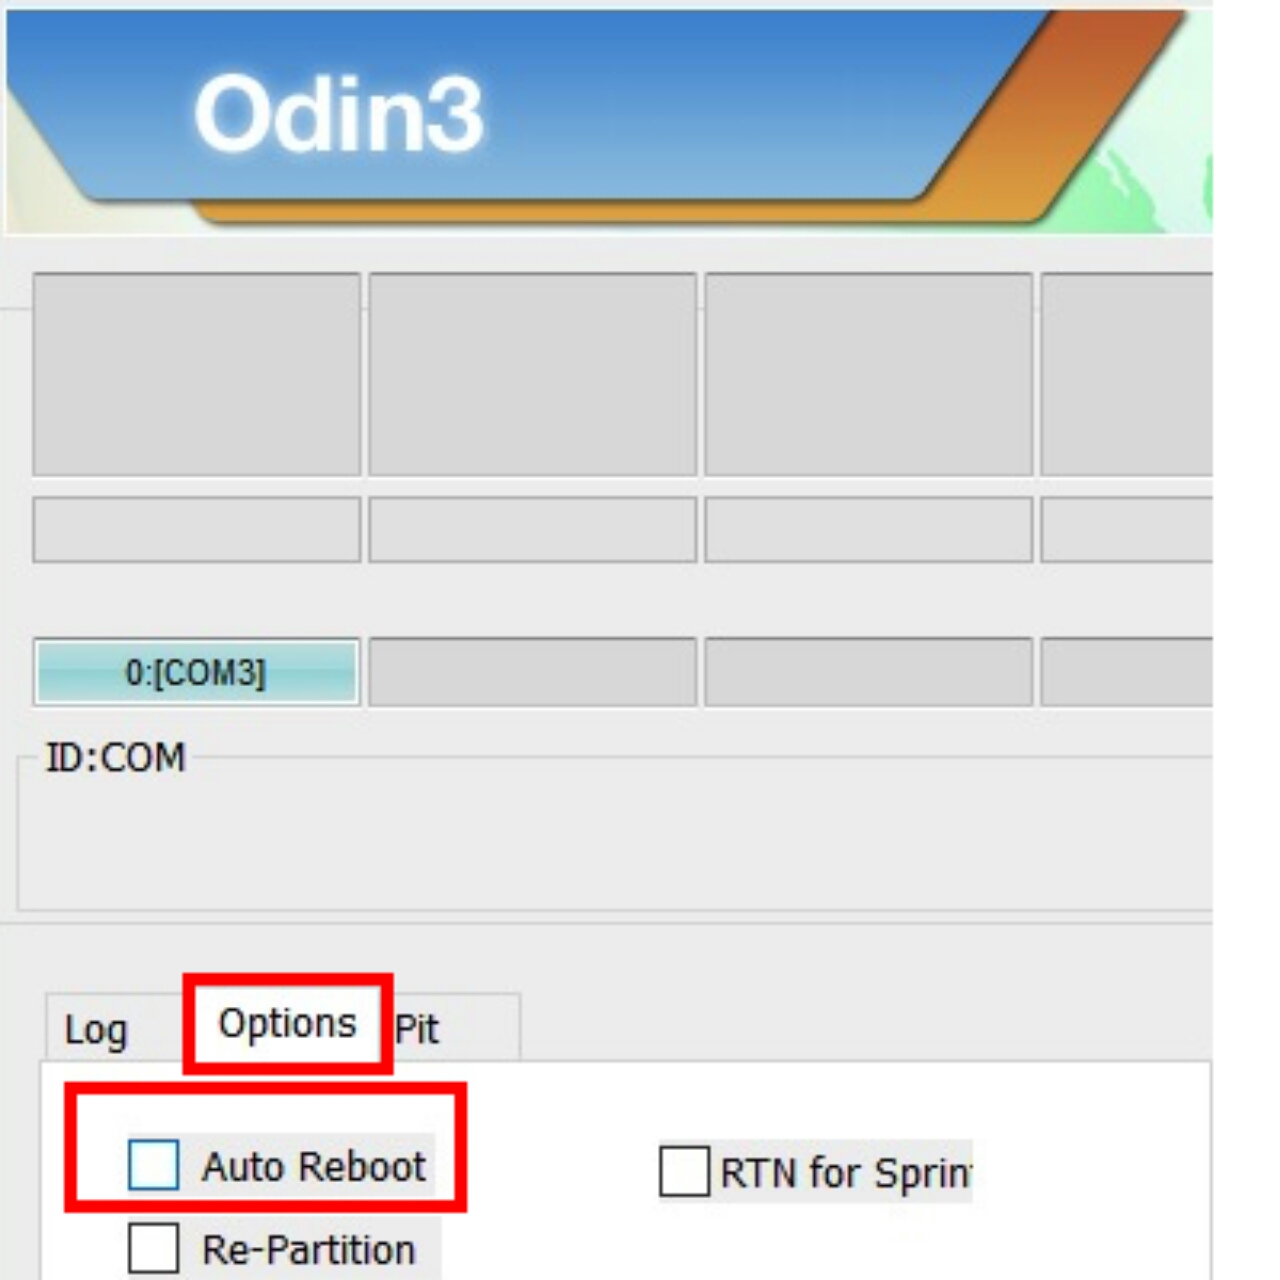
If everything went well you will see one of the ID:COM boxes turn blue, and also see a message “Added” in the Log. Click on the PDA or AP button and select the tar file of your recovery downloaded in the pre-requisites section. Next click on Options tab and disable “Auto Reboot” (ensure that it’s not checked).
★ Install TWRP:
Click the “Start” button. If everything goes well you will see the box above the ID:COM port light up green with a PASS message. At this point TWRP is installed and you can remove the USB cable.

★ Boot into TWRP:
Press and hold the Volume Down + Bixby + Power buttons at the same time. As soon as screen goes blank, immediately swap to Volume Up while still holding down the Bixby and Power buttons. Keep the three keys pressed until you get into TWRP Recovery.
★ Initialize TWRP:
Please Note: This will wipe all your data, Make sure you have backed it up.
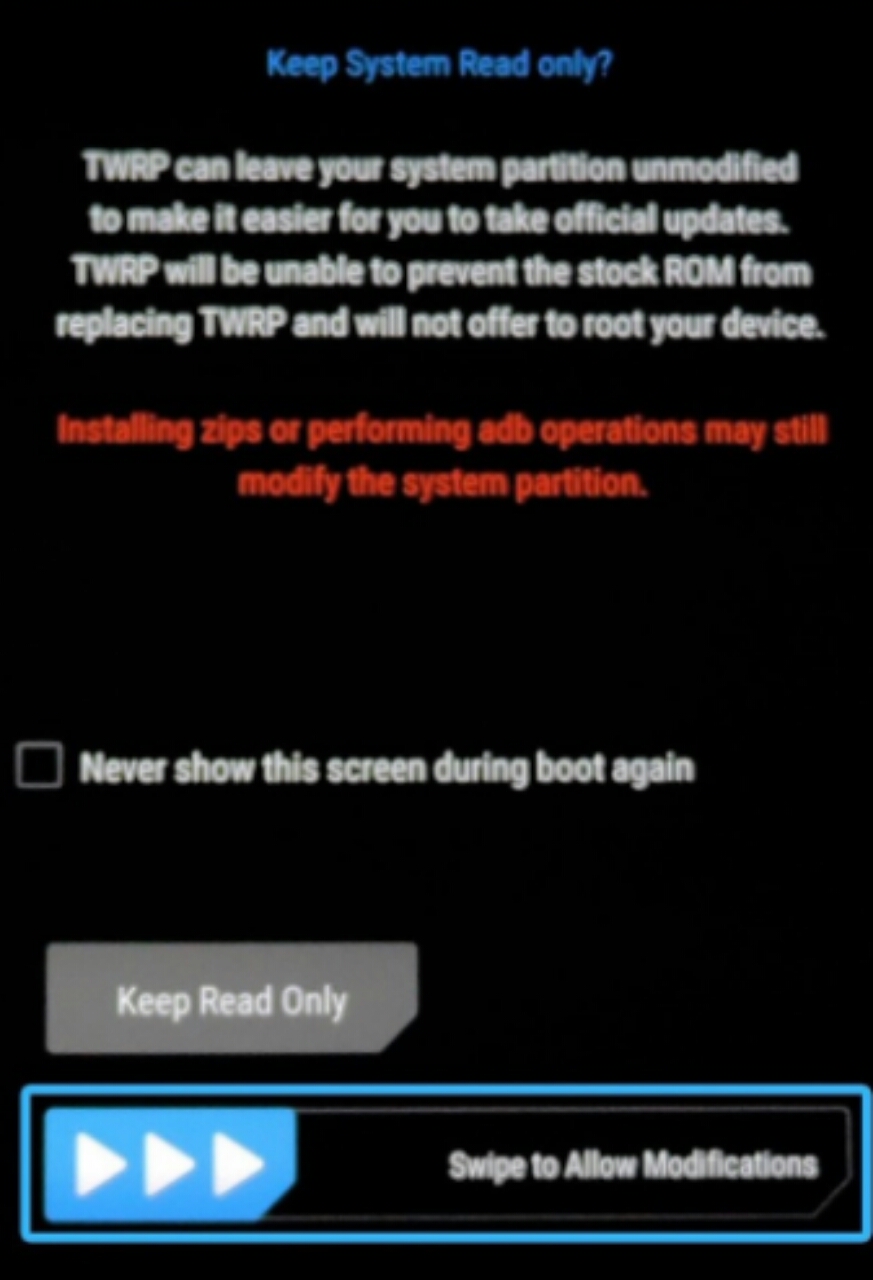
- You will be on a screen asking you if you want to allow system modifications.
- Swipe right to allow System modifications.
- Now go to “Wipe” menu of TWRP and you will find “Format Data”.
- Press “Format Data” and type “yes” to continue.
- Once complete go to “Reboot” menu and Press “Recovery” to reboot into TWRP.
Now go to the “Install” menu on TWRP and select the dm-verity zip file copied above.
Also flash the RMM State Fix zip file.
Once done, select Reboot => System.
All done and now, you have TWRP fully installed and initialized on your Galaxy S9. Without wasting much time, let's get right into how to root Samsung Galaxy S9.
» How To Root Samsung Galaxy S9:
» Pre-Requisites:
- Download latest Super SU SR3 zip file & RMM State Fix zip file.
- Place both zip files in internal memory of Galaxy S9.
- Make sure you already have TWRP recovery installed on your Galaxy S9.
Power off your Samsung Galaxy S9. Press and hold the Volume Up + Bixby + Power buttons at the same time. Keep the three keys pressed until you get into TWRP Recovery.
★ Root Using SuperSU:
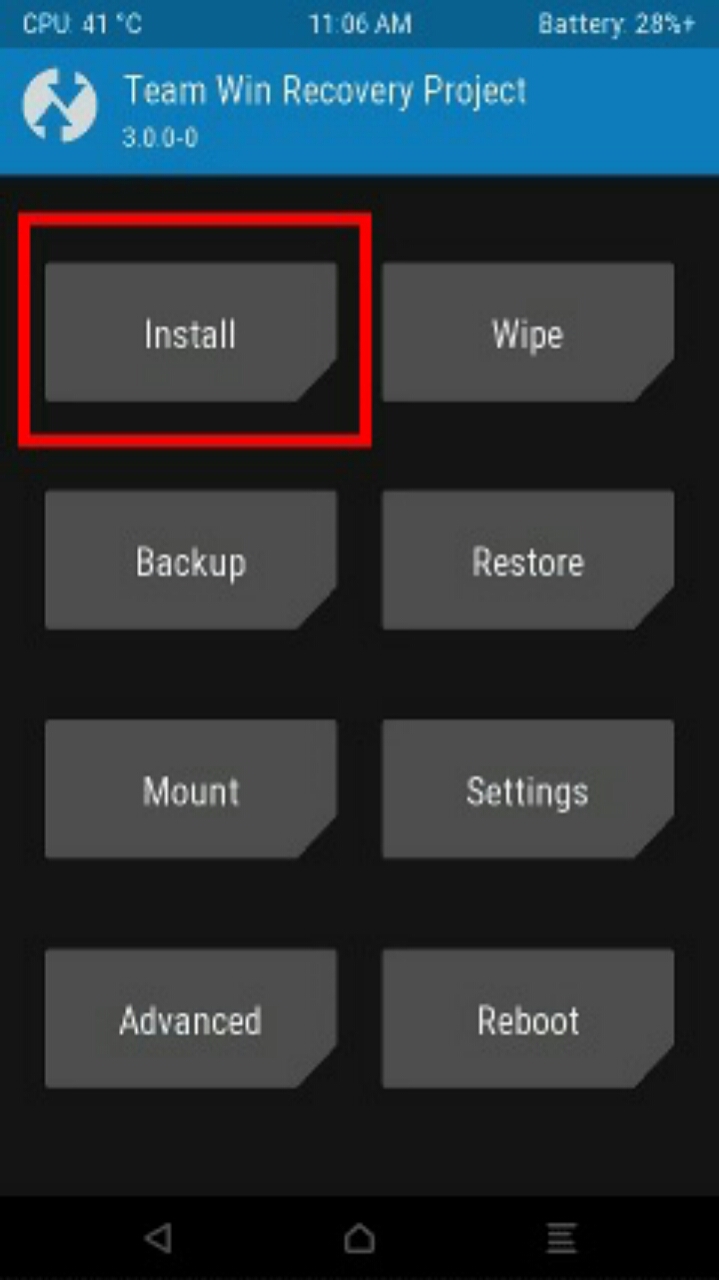
Once in TWRP click on Install, then select SuperSU zip file downloaded in pre-requisites, and swipe to confirm flashing zip file.
★ Flash RMM State Fix:
Once you have flashed SuperSU Zip file, flash RMM State Fix zip file downloaded in pre-requisites section.
★ Reboot into Android:
Click on back, then on Reboot and then on System and you will boot into Android.
» How to Check Galaxy S9 Root:
In case you want to check if your Samsung Galaxy S9 is rooted or not, download Root Checker app, open it and click on Verify Root. If you are rooted you will get an appropriate message.
» Install TWRP Recovery and Root Samsung Galaxy S9:
Following the above steps will guide you on how to root and install TWRP recovery on your Samsung Galaxy S9 device, hence, you can only follow the above procedure on EXYNOS Samsung device with the build number of the ones listed above. It'll be nice to see your on point of view and what you really think about rooting your Samsung Galaxy S9 by making use of the comment box below

0 Response to "How to Root and Install TWRP Recovery on Samsung Galaxy S9 [Exynos only]"
Posting Komentar