
How to Unlock Bootloader, Install TWRP Recovery, Root and Check Root on Razer Phone
Minggu, 04 Maret 2018
Android,
How To,
Install TWRP Recovery,
Razer Phone,
Root,
Unlock Bootloader
Edit
- How can I Root my Razer Phone and Install TWRP Recovery.
- Download TWRP Recovery for Razer Phone.
- Download Magisk rooting app - Latest Version.
- Download Razer Phone Factory Image (boot.img).
- Download Root Checker App.
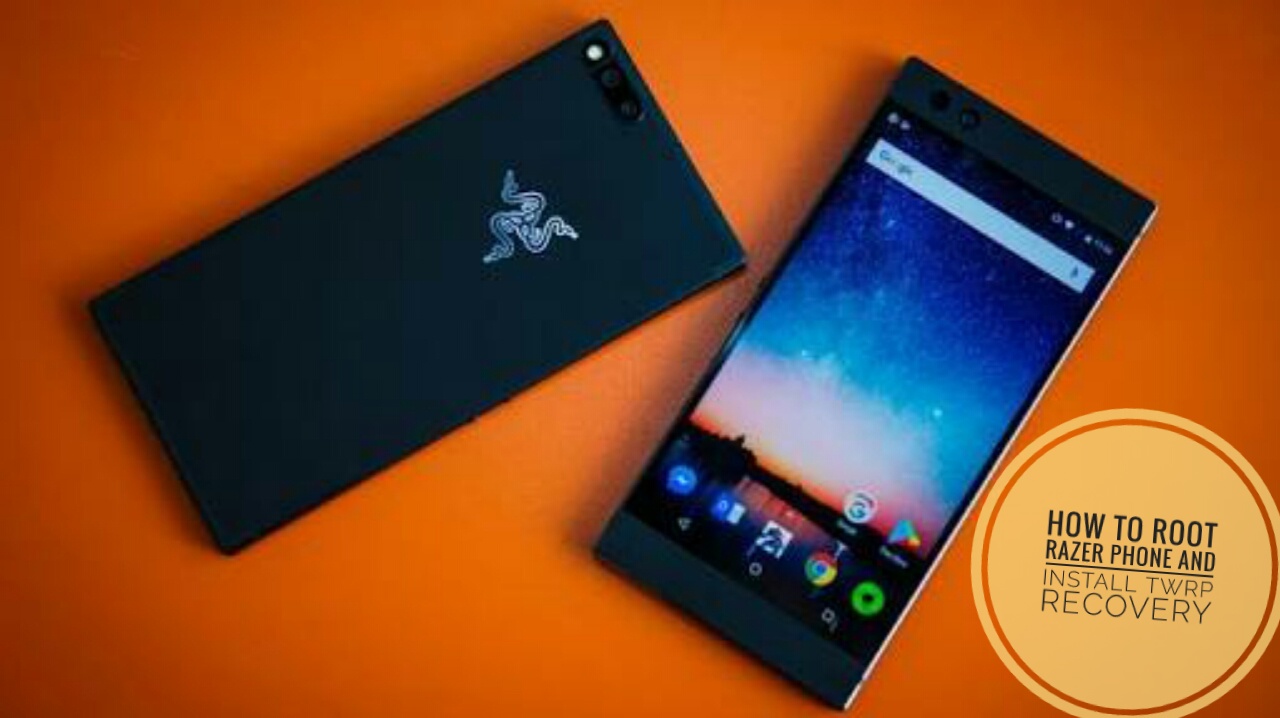
Looking for best smartphone for gaming? Lazer ghat your back — hence, it's an Android smartphone released by gaming company and it features a 5.7-inch display with a 120Hz refresh rate. As at now, there has been no other smartphone around the globe that possesses a display with a refresh rate of 120Ghz.As it is nowadays, unlocking the Bootloader is the first step to take before you can get access in installing TWRP Recovery and Rooting your Android phone. However, I'll be sharing with you how to unlock bootloader, install TWRP recovery, root and check root on Razer Phone 1. Thus, in this tutorial, I'll be using Magisk to root the phone and also install TWRP Recovery along the process but before then, take your time to read the disclaimer as well as the important things to do first before proceeding with the tutorial.
» Disclaimer:
AndroBliz should not be held responsible for any damages or loss you get following this procedure, hence we're here to offer help and guide to you "user at your own risk".
» Important:
★ Ensure total backup of your Data before proceeding with the steps below.
★ Endure that you have at least 70-80 percent battery on your Razer Phone.
★ Make sure you have enabled your USB Debug hand OEM Unlock. To do this, Navigate to your Settings => About Phone => Click on Build Number Seven Times to become a developer => Head-back to your Settings and tap on Developers Option => Toggle on USB Debugging and OEM Unlock.
★ Ensure that your ADB and Fastboot are setup and working fine on your computer (Windows, Mac or Linux).
» Pre-Requisites:
Download and Install Google drivers for Windows (there's no drivers for Mac and Linux users). Once installed please restart your Windows machine.
» How To Unlock Bootloader On Razer Phone:
★ Boot Razer Phone Into Fastboot Mode:
- Connect Razer Phone to computer using usb cable.
- Open command prompt (for Windows) or Terminal (for Mac and Linux).
- Navigate to platform-tools folder and issue below command.
adb reboot bootloaderMac and Linux:
./adb reboot bootloader★ Unlock Razer Phone Bootloader:
Once in fastboot mode connect Razer Phone to computer using usb cable. Open command prompt (for Windows) or Terminal (for Mac and Linux). Navigate to platform-tools folder. However, enter below command to check if device was connected successfully.
Windows:
fastboot -i 0x1532 devicesMac and Linux:
./fastboot -i 0x1532 devicesYou will see your device’s serial number show up if device was connected successfully. If not then something is wrong with drivers. Next, you have to enter below command to unlock the bootloader.
Windows:
fastboot -i 0x1532 flashing unlockMac and Linux:
./fastboot -i 0x1532 flashing unlockNow, You will see a warning message about Unlock Bootloader on Razer Phone 5T, use Volume buttons to navigate to Yes and Power button to select Yes.
Finally, your device will now reboot, wipe all data and then boot into Android. All done and you've successfully unlock your Razer phone's bootloader, without wasting much time, let's jump right into
» How To Install TWRP Recovery On Razer Phone:
★ Downloads:
- Download TWRP Recovery - Official (Rename to recovery.img and place it in platform-tools folder, Place the twrp-installer zip file in internal memory of Razer Phone.)
- Download Magisk - Latest Version
- Download Razer Phone Factory Image (Extract boot.img from the zip file and place it in internal memory.)
- Download Root Checker app (Play store).
★ Boot Razer Phone Into Fastboot Mode:
»Your device must be on«
- Connect Razer Phone to computer using usb cable.
- Open command prompt (for Windows) or Terminal (for Mac and Linux).
- Navigate to platform-tools folder and issue below command.
adb reboot bootloaderMac and Linux:
./adb reboot bootloader★ Boot TWRP recovery:
Open command prompt (for Windows) or Terminal (for Mac and Linux). Navigate to platform-tools folder and issue below command.
Windows:
fastboot flash boot recovery.img && fastboot rebootMac and Linux:
./fastboot flash boot recovery.img && fastboot rebootYou will now boot into TWRP recovery. If you are using a lockscreen pin/pattern/password and did not get prompted to enter the same, reboot to the bootloader and issue above command again.
★ Install Boot.img:
Once you have booted into TWRP, click on Install, then Install img and select the boot.img file downloaded in download section.
★ Install TWRP Recovery:
Next, go back to TWRP main menu. Click on Install, then select the twrp-installer zip file downloaded from Download section.
★ Reboot:
Click back => Reboot => System and you will boot into Android. Go ahead and make sure wi-fi is working.
★ Disable Automatic Updates:
Go to Settings => Developer Options and turn off Automatic Updates. All done and you're ready to kick off, now let's see
» How To Root Razer Phone:
★ Find Current Slot:
»Make sure Razer Phone is turned on.«
- Connect Razer Phone to computer using usb cable.
- Open command prompt (for Windows) or Terminal (for Mac and Linux).
- Navigate to platform-tools folder and issue below commands.
Windows:
adb shell getprop ro.boot.slot_suffixMac and Linux:
./adb shell getprop ro.boot.slot_suffixIt should return something like [ro.boot.slot_suffix]: [_a] Or: [ro.boot.slot_suffix]: [_b]. Note down whether it’s a or b. This is the slot we are on.
★ Boot Into Recovery Mode
Issue below command.
Windows
adb reboot bootloaderMac and Linux
./adb reboot bootloader
★ Root Current Slot using Magisk
In TWRP main menu and click on Install, then select Magisk zip file downloaded from Download section, and swipe to confirm flashing zip file.
★ Switch To Second Slot
Go to TWRP main menu. Click on reboot, and then select the slot on which we are NOT. So, if we were on slot a in step 1, select slot b. Else, select slot a. Once you have selected a slot, select Recovery to reboot back into recovery.
★ Root Second Slot using Magisk
In TWRP main menu and click on Install, then select Magisk zip file downloaded in pre-requisites, and swipe to confirm flashing zip file.
★ Reboot Into Android
Head-back to TWRP main menu, then on Reboot and then on System and you will boot into Android. Boom! all work are done, congratulations you have successfully rooted your Razer Phone. However, to confirm if your device is tied successfully or not then you have to
★ Check Razer Phone Root:
If by any chance you want to check if your Razer Phone is rooted or not, download Root Checker app from the Download section above, open it and click on Verify Root. If you are rooted you will get an appropriate message.
Also Check: How To Unlock Bootloader, Install TWRP Recovery, Root And Check Root On Google Pixel XL In Android Oreo 8.0 Update.» Unlock Bootloader, Install TWRP Recovery, Root and Check Root on Razer Phone:
We all know what Razer phone is all about, when you talk about gaming smartphone then you talk about Razer phone. However, we've only seen the first part of Razer phone, what about the upcoming Razer Phone 2. Anyways, with the above procedures, be assured that you've rooted your Razer phone successfully - hence, if by any chance you're lost along the process, then make use of the comment box so as to get a quick reply from the moderators.
0 Response to "How to Unlock Bootloader, Install TWRP Recovery, Root and Check Root on Razer Phone"
Posting Komentar